How to Make Homemade Granola Bars From a Bag of Granola
The shortcut nobody tells you: a good granola bar starts with granola that is already roasted. Bind it, press it, chill it — chewy homemade granola bars in 20 minutes, no oven required.
Most granola bar recipes start from raw oats and quietly assume you will get the toasting, sweetening and binding right in one go. Here is the honest shortcut: start from finished granola. The toast, crunch, fruit and salt are already balanced — all you add is a binder.
Why ready-made granola makes better bars
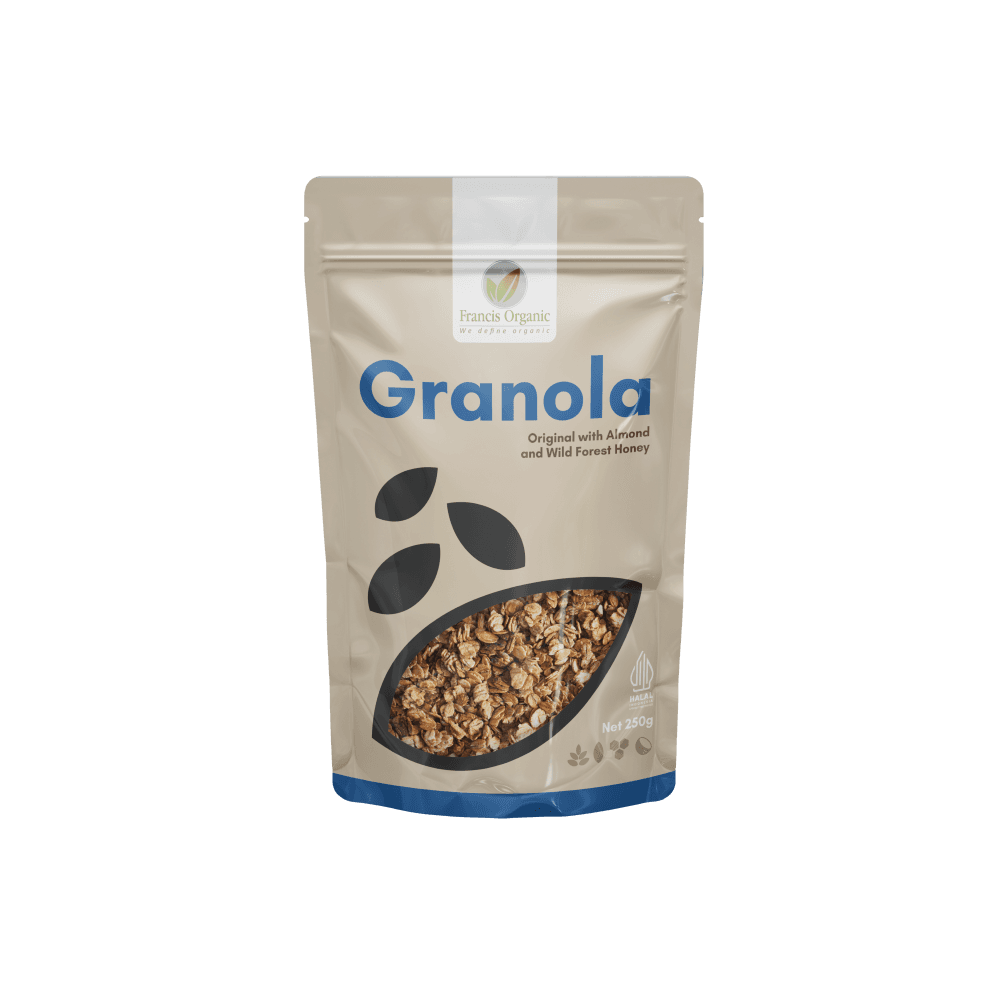
A granola bar is really just granola holding hands. When you start from a well-roasted granola, the hard work — even toasting, real honey, the right salt level — is already done. Starting from raw oats means recreating all of that before you even get to the pressing stage.
The 20-minute granola bar (no oven)
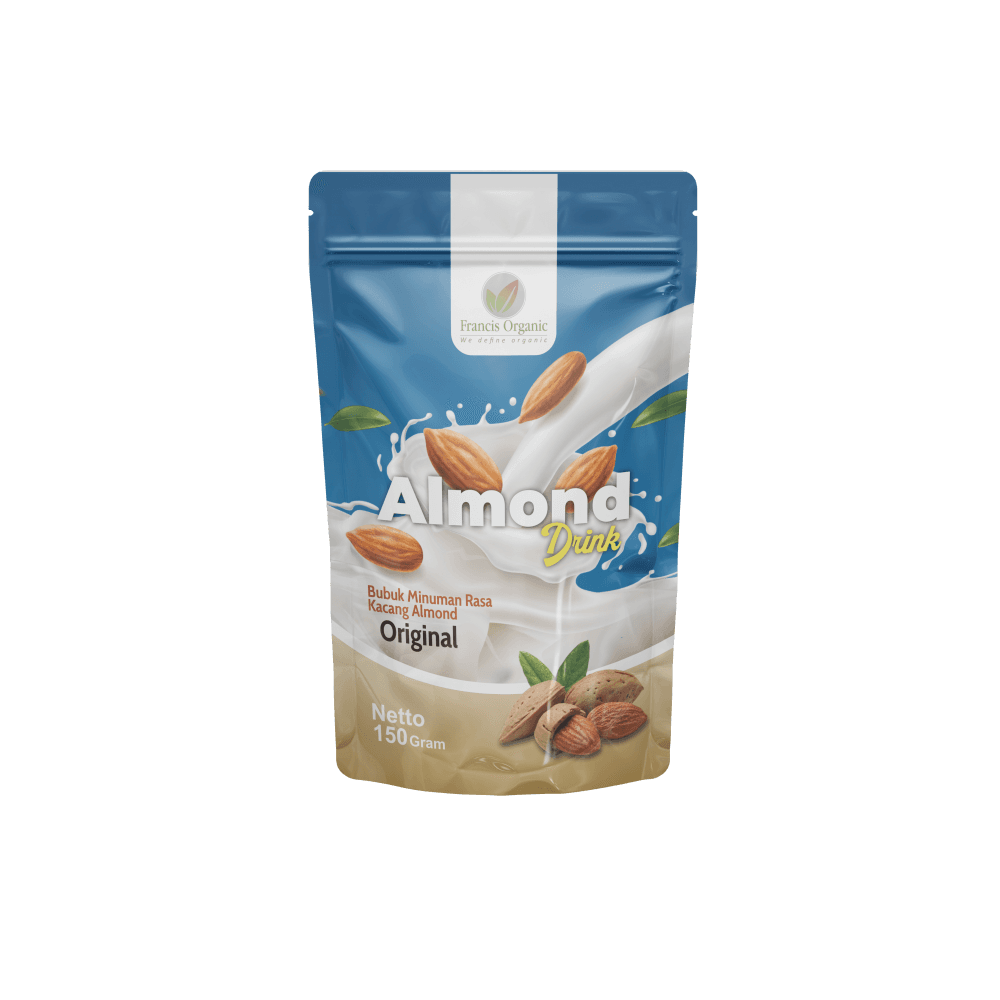
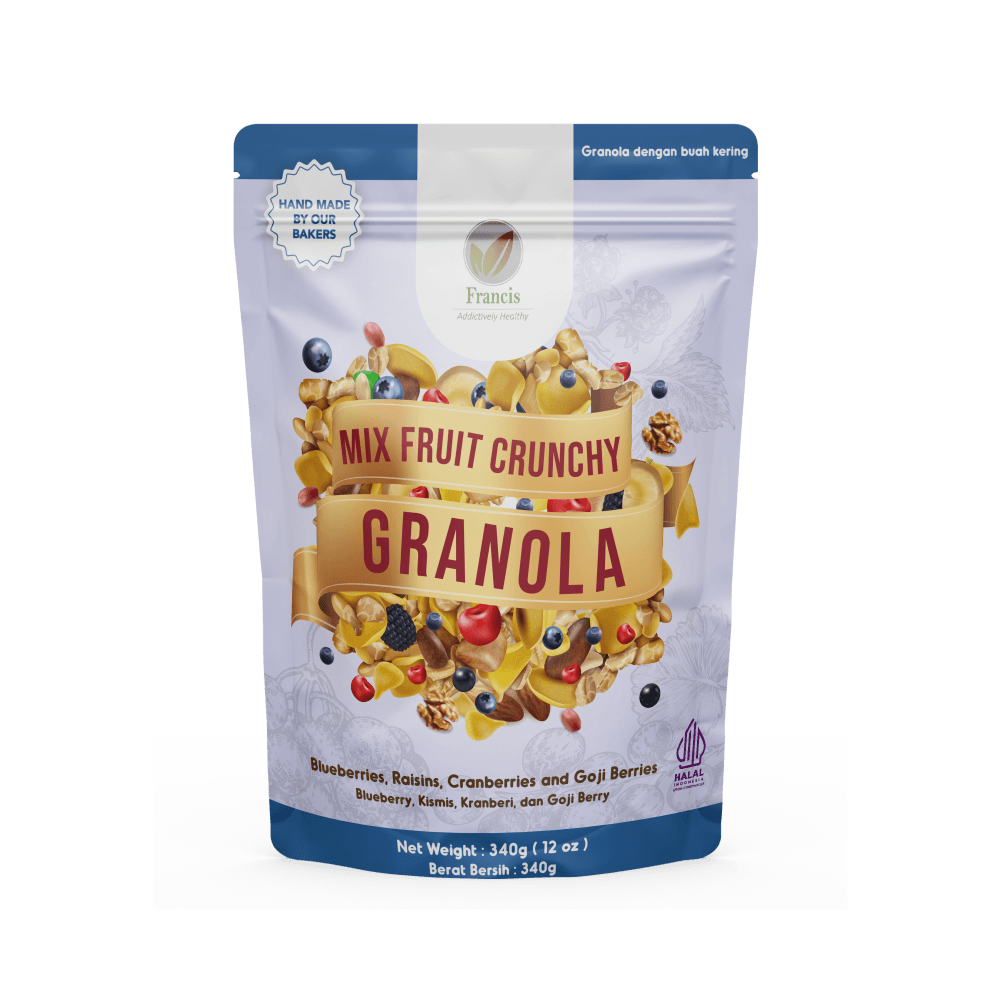
- 300 g granola — we use Granola Mixed Fruit for fruity bars or Granola Chocolate for the after-school kind
- 120 g honey
- 100 g peanut butter or other nut butter
- A pinch of sea salt
- Line a 20 cm square tin with baking paper, leaving flaps to lift the slab out later.
- Warm the honey and nut butter in a pan until they combine into a pourable caramel-coloured syrup. Do not boil — hotter syrup means harder bars.
- Fold in the granola until every cluster is coated.
- Tip into the tin and press hard — the single biggest difference between bars and crumbs. Use the base of a glass and real force.
- Chill for 2 hours, lift out, and cut into 10 bars with a sharp knife.
Chewy or crunchy is decided by the syrup: warm and just-combined gives chewy bars, simmered a minute longer gives snap.
Three variations we keep coming back to
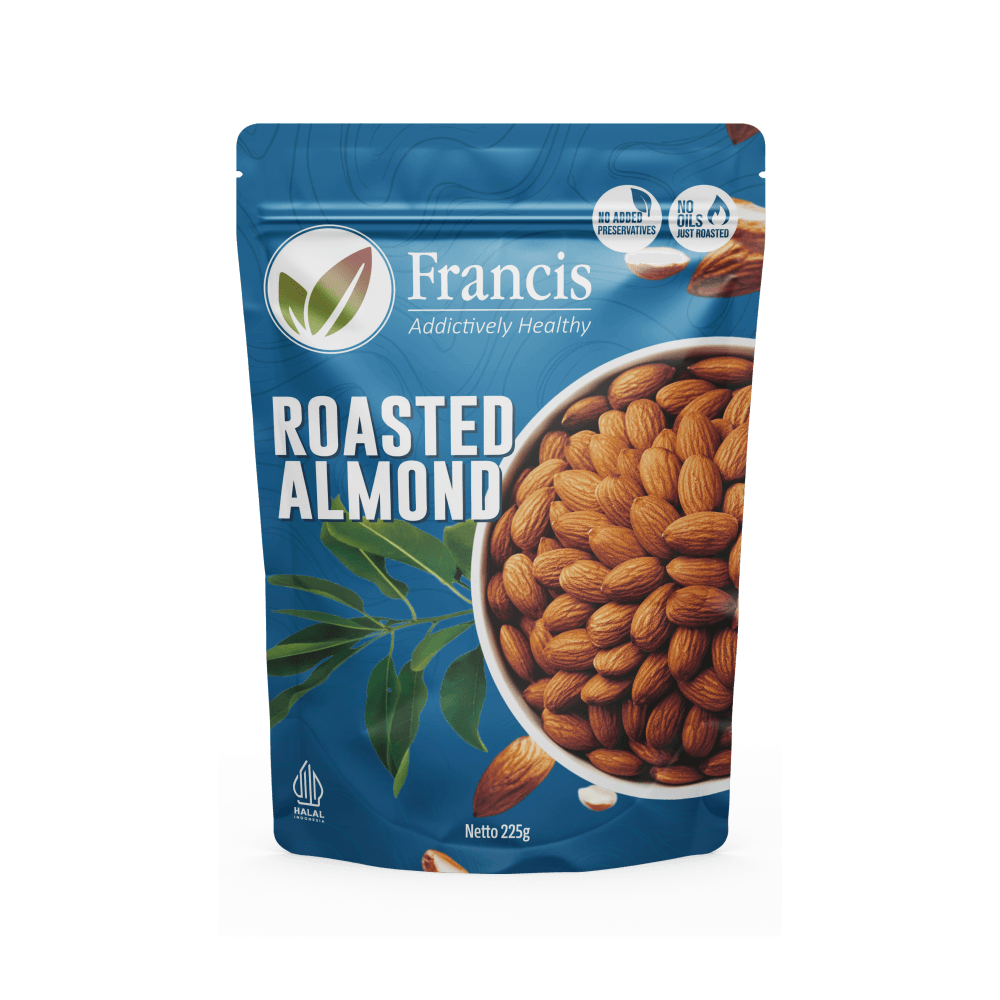
- Nut-heavy: swap 50 g of granola for chopped roasted almonds — more protein, more crunch.
- Seed bar: add toasted pumpkin seeds and sunflower seeds for a school-safe, nut-free-ish version (check your granola).
- Dark chocolate base: melt 100 g dark chocolate, spread it over the chilled slab, chill again, then cut.
Storing your bars
Wrap individually in baking paper and keep refrigerated for up to two weeks. In Indonesian heat, an unrefrigerated honey-bound bar will slowly relax back into granola — delicious, but you will be eating it with a spoon.
Quick FAQ
Kenapa granola bar buatan sendiri gampang hancur?
Hampir selalu karena kurang ditekan atau sirupnya kurang. Tekan adonan sekuat mungkin dan pastikan setiap cluster terlapisi madu, lalu dinginkan minimal dua jam sebelum dipotong.
Can I bake these for crunchier bars?
Yes — press into the tin, bake 15 minutes at 160°C, and cool completely before cutting. Because the granola is already roasted, any longer risks bitterness.